Was wirst du in diesem Tutorial lernen?
- PHP und Composer zu installieren
- Laravel einrichten
- Dein erstes App erstellen
- Server local einrichten
In diesem Tutorial werden wir euch zeigen, wie man Laravel local einrichtet. Ein weiterer Punkt ist, dass wir beide Fälle mit und ohne Docker zeigen werden.
Für dieses Tutorial solltest du grundlegende Kenntnisse in Laravel und PHP mitbringen. Außerdem werden grundlegende Kenntnisse im Umgang mit der Kommandozeile (Terminal) empfohlen.
1. Laravel ohne Docker einrichten
1.1 PHP lokal installieren:
PHP Macbook, Windows und Linux lokal einrichten.
Du kannst dir die offizielle Website von PHP anschauen da gibt es auch Anleitungen, wie man das instaliert. https://www.php.net/downloads.php
# Download and install Homebrew.
curl -o- https://raw.githubusercontent.com/Homebrew/install/HEAD/install.sh | bash

# Install and link PHP.
brew install php@8.5
brew link --force --overwrite php@8.5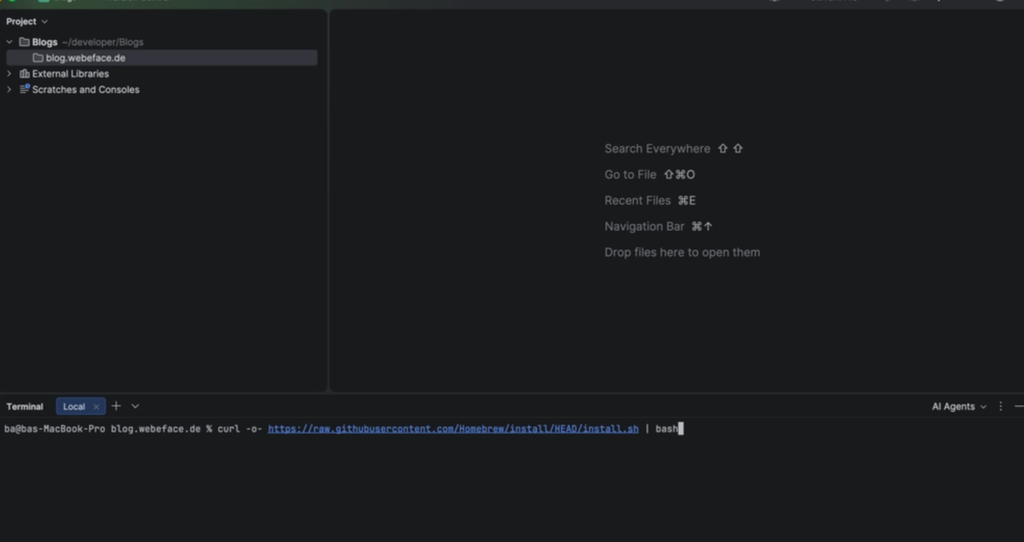
wenn du das erste Command ausführt, es kann sein, dass du sudo Rechte brauchst, dann musst du dafür das command mit sudo starten.
So sieht das Code aus bzw das Terminal Ausgabe:
sudo curl -o- https://raw.githubusercontent.com/Homebrew/install/HEAD/install.sh | bash
Password:
  % Total    % Received % Xferd  Average Speed   Time    Time     Time  Current
                                 Dload  Upload   Total   Spent    Left  Speed
  0     0    0     0    0     0      0      0 --:--:-- --:--:-- --:--:--     0Warning: Running in non-interactive mode because `stdin` is not a TTY.
100 33763  100 33763    0     0   309k      0 --:--:-- --:--:-- --:--:--  311k
==> Checking for `sudo` access (which may request your password)...
==> This script will install:
/opt/homebrew/bin/brew
/opt/homebrew/share/doc/homebrew
/opt/homebrew/share/man/man1/brew.1
/opt/homebrew/share/zsh/site-functions/_brew
/opt/homebrew/etc/bash_completion.d/brew
/opt/homebrew
/etc/paths.d/homebrew
==> /usr/bin/sudo /usr/sbin/chown -R ba:admin /opt/homebrew
==> Downloading and installing Homebrew...
==> /usr/bin/sudo /bin/mkdir -p /etc/paths.d
==> /usr/bin/sudo tee /etc/paths.d/homebrew
/opt/homebrew/bin
==> /usr/bin/sudo /usr/sbin/chown root:wheel /etc/paths.d/homebrew
==> /usr/bin/sudo /bin/chmod a+r /etc/paths.d/homebrew
==> Updating Homebrew...
Updated 2 taps (homebrew/core and homebrew/cask).
==> Installation successful!

==> Homebrew has enabled anonymous aggregate formulae and cask analytics.
Read the analytics documentation (and how to opt-out) here:
  https://docs.brew.sh/Analytics
No analytics data has been sent yet (nor will any be during this install run).

==> Homebrew is run entirely by unpaid volunteers. Please consider donating:
  https://github.com/Homebrew/brew#donations

==> Next steps:
- Run brew help to get started
- Further documentation:
    https://docs.brew.sh
Dann führe das aus
brew install php@8.5
brew link --force --overwrite php@8.5
1.2 Composer lokal einrichten
Wie richtet man Composer Paket Manager lokal ein das gilt für Windows, Limux und Macbook. Du kannst dir auch die Anleitungen von der offiziellen Website anschauen. https://getcomposer.org/download/
Wie richtet man Composer Paket Manager lokal ein das gilt für Windows, Limux und Macbook. Du kannst dir auch die Anleitungen von der offiziellen Website anschauen. https://getcomposer.org/download/Schritt für Schritt einrichten:
php -r "copy('https://getcomposer.org/installer', 'composer-setup.php');"php composer-setup.phpphp -r "unlink('composer-setup.php');"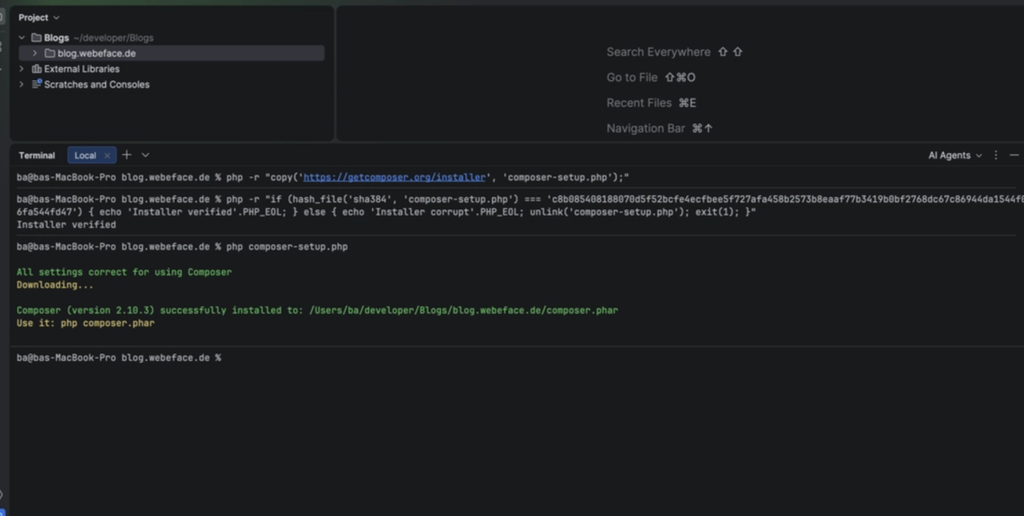
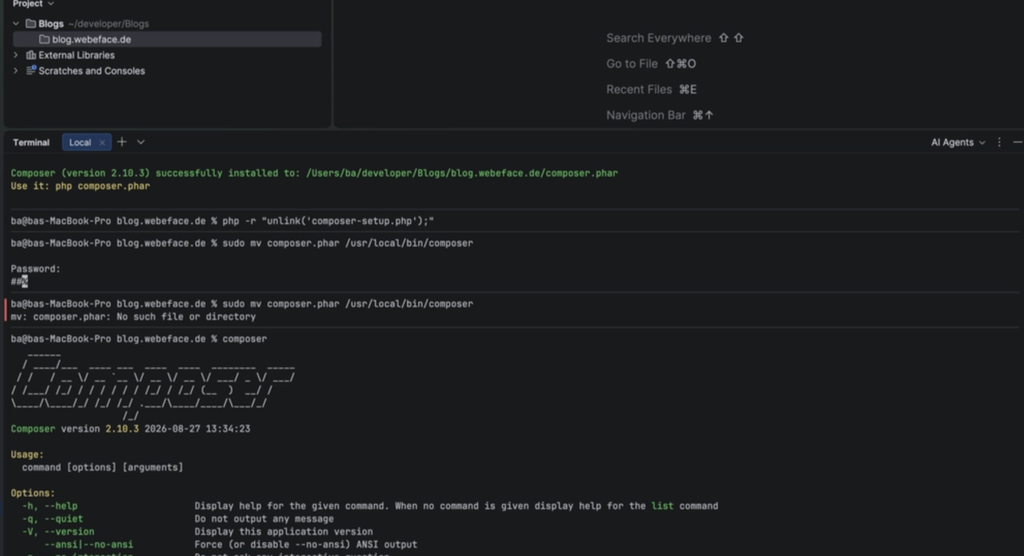
Mache das Composer global erreichbar
sudo mv composer.phar /usr/local/bin/composerDu siehst das untere Composer NAME da ist es dann global.
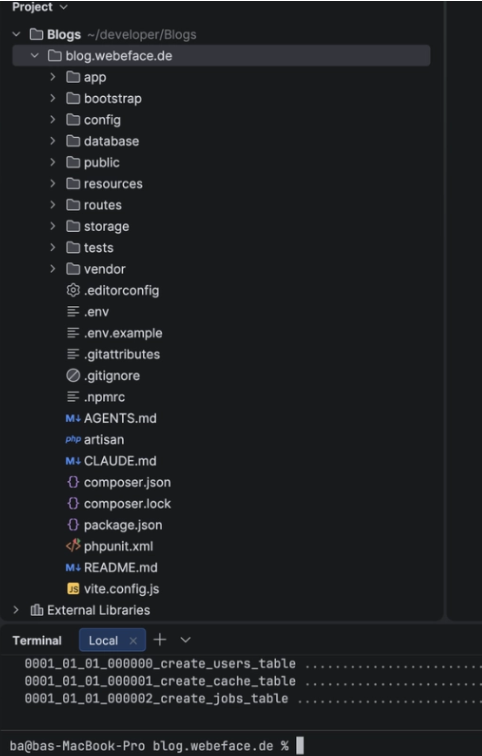
1.3 Laravel lokal installieren und einrichten:
So kannst du laravel lokal installeiren:
Über dieses Command kannst du das Laravel Projekt lokal über Composer ohne LARAVEL global rinzurichten, erstellen.
composer create-project laravel/laravel . 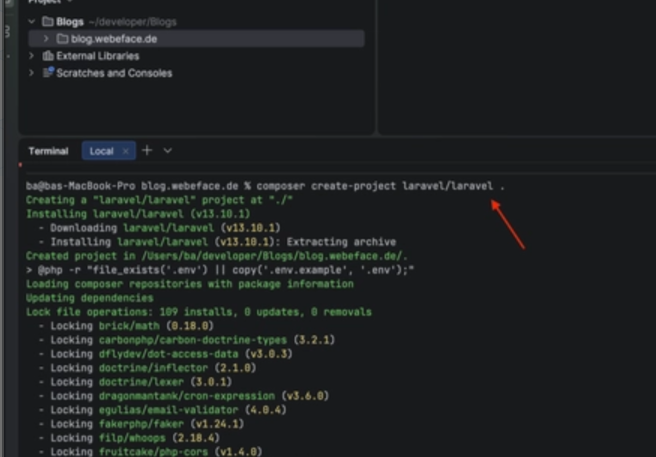
1.4 Den Server für Laravel starten
php artisan serveDas Command macht das Projekt über das localhost erreichbar
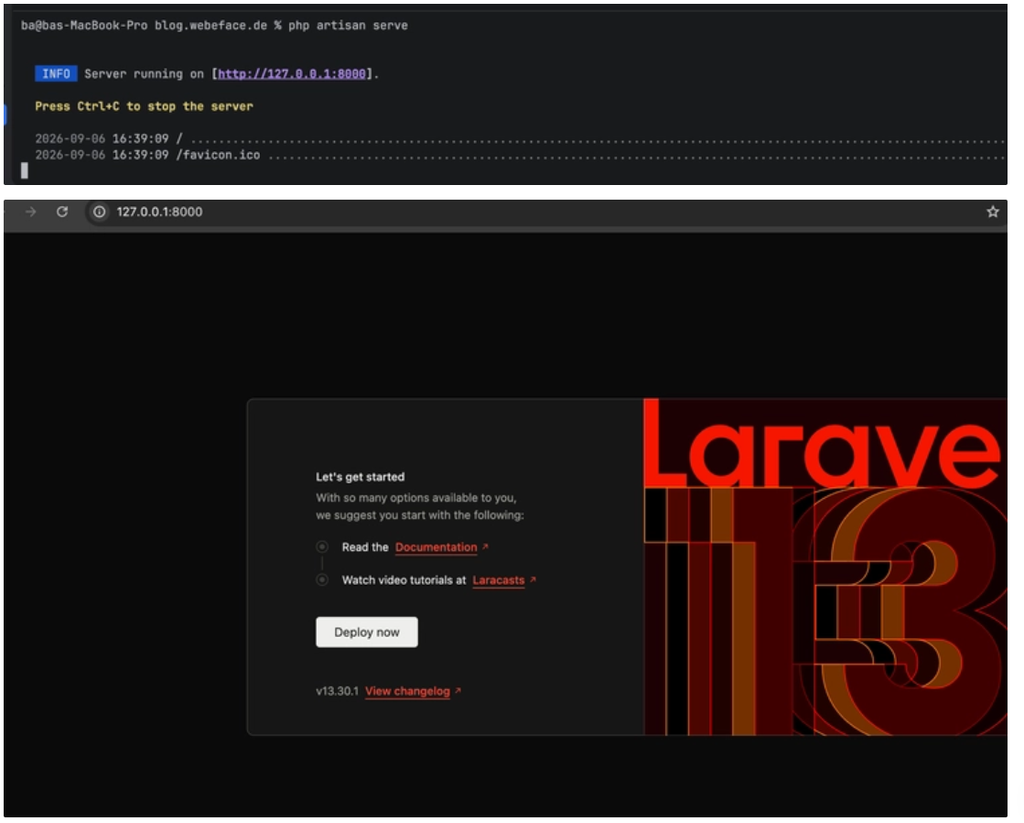
Und so hast ein funktionierendes Laravel-Projekt, das du erweitern bzw entwickeln kannst.
2. Laravel mit Docker lokal einrichten
2.1 Docker lokal einrichten
Du kannst dir die Anleitungen für die Installation von Docker durchlesen https://docs.docker.com/desktop/setup/install/windows-install/ Da kannst du für Windwos, Ubuntu od mac.
2.2 Docker Konfiguration erstellen
Die Struktur des Porjektes soll so aussehen, du kannst es später ändern.
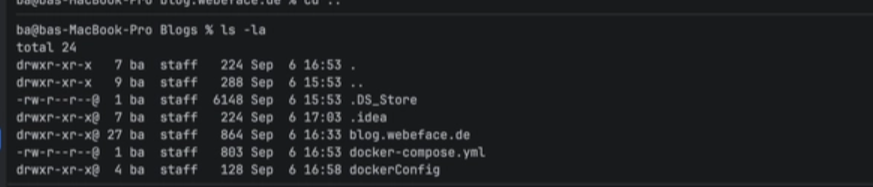
docker-compose.yml Inhalt
services:
  blog.webeface.de:
    build:
      context: ./dockerConfig
    container_name: php-blog.webeface.de
    restart: always

    volumes:
      - ./blog.webeface.de:/var/www/html

    networks:
      - blog-webeface-de-network

    ports:
      - "8080:80"

    depends_on:
      - default-database

  default-database:
    image: mysql:8.0
    container_name: blog.webeface.de-database
    restart: always

    environment:
      MYSQL_DATABASE: blog.webeface.de
      MYSQL_ROOT_PASSWORD: testo

    volumes:
      - blog.webeface.de_data:/var/lib/mysql

    networks:
      - blog-webeface-de-network

    ports:
      - "3306:3306"

networks:
  blog-webeface-de-network:
    name: blog-webeface-de-network
    driver: bridge

volumes:
  blog.webeface.de_data:
    name: blog.webeface.de_data
dockerConfig/000-default.conf
<VirtualHost *:80>
        # The ServerName directive sets the request scheme, hostname and port that
        # the server uses to identify itself. This is used when creating
        # redirection URLs. In the context of virtual hosts, the ServerName
        # specifies what hostname must appear in the request's Host: header to
        # match this virtual host. For the default virtual host (this file) this
        # value is not decisive as it is used as a last resort host regardless.
        # However, you must set it for any further virtual host explicitly.
        #ServerName www.example.com

        ServerAdmin webmaster@localhost
        DocumentRoot /var/www/html/public

        # Available loglevels: trace8, ..., trace1, debug, info, notice, warn,
        # error, crit, alert, emerg.
        # It is also possible to configure the loglevel for particular
        # modules, e.g.
        #LogLevel info ssl:warn

        ErrorLog ${APACHE_LOG_DIR}/error.log
        CustomLog ${APACHE_LOG_DIR}/access.log combined

        # For most configuration files from conf-available/, which are
        # enabled or disabled at a global level, it is possible to
        # include a line for only one particular virtual host. For example the
        # following line enables the CGI configuration for this host only
        # after it has been globally disabled with "a2disconf".
        #Include conf-available/serve-cgi-bin.conf
</VirtualHost>
dockerConfig/Dockerfile
FROM php:8.4-apache

# Enable Apache modules
RUN a2enmod rewrite

# Install PHP extensions and system dependencies
RUN apt-get update \
    && apt-get install -y zlib1g-dev g++ git libicu-dev zip libzip-dev curl npm \
    && docker-php-ext-install intl opcache pdo pdo_mysql zip \
    && pecl install apcu xdebug \
    && docker-php-ext-enable apcu xdebug \
    && apt-get clean && rm -rf /var/lib/apt/lists/*

COPY 000-default.conf /etc/apache2/sites-available/000-default.conf

WORKDIR /var/www/html

RUN curl -sS https://getcomposer.org/installer | php -- --install-dir=/usr/local/bin --filename=composer
führe dann aus
docker compose upUm Commands in dem Container auszuführen musst du dich da einloggen
docker container exec -it php-blog.webeface.de bash